
Animating Next.js page transitions with Framer Motion
I've been testing several React animation libraries and Framer Motion made the highest impression on me. In this post we'll explore how to use Framer Motion to animate Next.js page transitions.
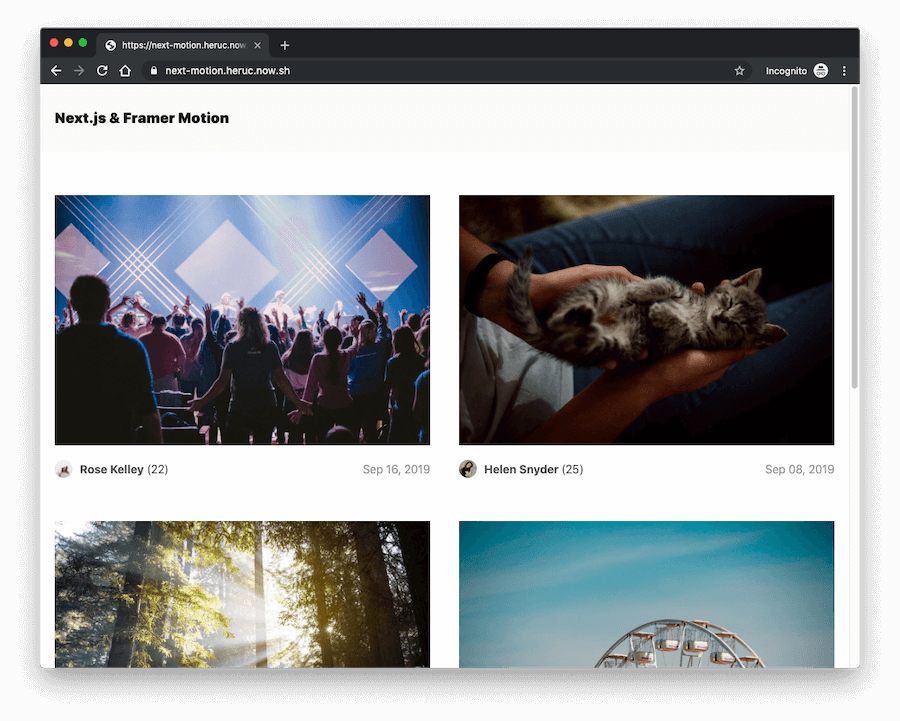
Here's an example:
You can download the source code on GitHub.
What is Framer Motion
Framer Motion is the newest React animation library, a successor to Popmotion Pose. It also powers animations in Framer X, a powerful prototyping tool.
I used Popmotion Pose before, so the concepts behind Framer Motion weren't foreign to me, but I was still amazed by the simple API that makes even complex animations easy to implement.
Framer Motion comes with the server-side rendering support out of the box, so it's also perfect for Next.js apps.
To get started with Framer Motion in a React project, install the framer-motion package from npm:
npm i framer-motion
Note: Framer Motion requires React 16.8 or greater.
Once installed, import motion into your components:
import { motion } from 'framer-motion';
The core of the Motion API are motion components. To animate elements, we need to replace primitive DOM elements (like div, svg, etc.) with their Motion counterparts: motion.div, motion.svg, etc. These components offer extra props that allow you to declaratively add animations and gestures.
motion components are animated via the animate prop which can accept an object, variant label(s), or a reference to imperative animation controls.
Here's a simple component that animates a single div element:
import { motion } from 'framer-motion';

export const MyComponent = () => (
  <motion.div
    animate={{
      scale: [1, 2, 2, 1, 1],
      rotate: [0, 0, 270, 270, 0],
      borderRadius: ['20%', '20%', '50%', '50%', '20%']
    }}
  />
);
Using Framer Motion for Next.js page transitions
Framer Motion provides an AnimatePresence component which makes it possible to animate React components as they mount and unmount.
To be able to animate page transitions, AnimatePresence must be a direct parent component of individual page components.
In Next.js we can use a special pages/_app.js file to create a custom <MyApp> component where we can include parent components to pages.
This is how an _app.js file looks like by default:
// pages/_app.js
import React from 'react';
import App from 'next/app';

class MyApp extends App {
  render() {
    const { Component, pageProps } = this.props;

    return <Component {...pageProps} />;
  }
}

export default MyApp;
The <Component {...pageProps} /> part represents individual pages, so we can add Framer Motion AnimatePresence as their parent component like this:
import React from 'react';
import App from 'next/app';
import { AnimatePresence } from 'framer-motion';

class MyApp extends App {
  render() {
    const { Component, pageProps, router } = this.props;

    return (
      <AnimatePresence exitBeforeEnter>
        <Component {...pageProps} key={router.route} />
      </AnimatePresence>
    );
  }
}

export default MyApp;
Notice that I also added a key prop to <Component> and set it to the current route. This is important so that AnimatePresence can track the presence of child components in the tree.
I also added exitBeforeEnter prop to AnimatePresence to make sure the exiting page finishes its exit animation before the next page starts animating.
If you need to add a global layout component for your pages, you can do it like this:
import React from 'react';
import App from 'next/app';
import { AnimatePresence } from 'framer-motion';

import Layout from '../components/layout';

class MyApp extends App {
  render() {
    const { Component, pageProps, router } = this.props;

    return (
      <Layout>
        <AnimatePresence exitBeforeEnter>
          <Component {...pageProps} key={router.route} />
        </AnimatePresence>
      </Layout>
    );
  }
}

export default MyApp;
I wrote about Next.js layouts in more detail in a previous post.
For the example site, I created two pages, homepage as the "post index" and a dynamic post page, and defined enter and exit animations for both.
Framer Motion provides Variants, which are sets of pre-defined target objects. They allow us to animate entire sub-trees of components with a single animate prop.
For the post index page I created a parent motion.div component with the variants prop where I defined how the child elements will transition on exit:
<motion.div initial="initial" animate="enter" exit="exit" variants={{ exit: { transition: { staggerChildren: 0.1 } } }}>
  <div className="posts">...</div>
</motion.div>
With staggerChildren we define that children elements (posts) should transition away one by one with animation duration of 0.1 second.
To animate individual posts, I wanted a more complex animation, so I defined an object with an initial, enter and exit objects:
const postVariants = {
  initial: { scale: 0.96, y: 30, opacity: 0 },
  enter: { scale: 1, y: 0, opacity: 1, transition: { duration: 0.5, ease: [0.48, 0.15, 0.25, 0.96] } },
  exit: {
    scale: 0.6,
    y: 100,
    opacity: 0,
    transition: { duration: 0.2, ease: [0.48, 0.15, 0.25, 0.96] }
  }
};
This object is added as variants prop to the post container: <motion.div variants={postVariants}>.
initial is used to define starting element styles, enter for styles to which the element will animate when mounting and exit for animating when unmounting.
I used the same approach to animate individual posts, but I created separate animations for post image, post text and the back button:
// pages/posts/[post].js
import Link from 'next/link';
import posts from '../../data/posts';
import { motion } from 'framer-motion';
import PostInfo from '../../components/post-info';

let easing = [0.175, 0.85, 0.42, 0.96];

const imageVariants = {
  exit: { y: 150, opacity: 0, transition: { duration: 0.5, ease: easing } },
  enter: {
    y: 0,
    opacity: 1,
    transition: {
      duration: 0.5,
      ease: easing
    }
  }
};

const textVariants = {
  exit: { y: 100, opacity: 0, transition: { duration: 0.5, ease: easing } },
  enter: {
    y: 0,
    opacity: 1,
    transition: { delay: 0.1, duration: 0.5, ease: easing }
  }
};

const backVariants = {
  exit: {
    x: 100,
    opacity: 0,
    transition: {
      duration: 0.5,
      ease: easing
    }
  },
  enter: {
    x: 0,
    opacity: 1,
    transition: {
      delay: 0.5,
      duration: 0.5,
      ease: easing
    }
  }
};

const Post = ({ post }) => (
  <div className="container post">
    <motion.div initial="exit" animate="enter" exit="exit">
      <motion.img variants={imageVariants} src={`/static/images/${post.id}.jpg`} />

      <motion.div variants={textVariants}>
        <PostInfo post={post} />
        <p>{post.text}</p>
      </motion.div>

      <motion.div variants={backVariants}>
        <Link href="/">
          <a>Back to list</a>
        </Link>
      </motion.div>
    </motion.div>

    <style jsx>{`
      .post {
        margin: 20px;
      }
      .post p {
        margin: 40px 0;
      }
    `}</style>
  </div>
);

Post.getInitialProps = ({ query }) => {
  let post = posts.find(post => post.id == query.post);

  return {
    post
  };
};

export default Post;
My suggestion is to play with the example code and try adjusting the animations. I hope my examples will help you get started with animating your Next.js apps.
Also check out the Framer Motion docs for more info on all available features.

Hi. I'm Kristian, software engineer from Croatia. I'm specialized in building high-performant web apps with React, Next.js, GraphQL, Postgres, Hasura & Node. If you are looking for a team of experienced engineers to build your new app, contact me.